By Mario Gonzalez
The padel volley: how to own the net and win more points
Learn the padel volley: forehand, backhand, block volley, half volley and deep volley. Step-by-step technique, common mistakes and video tutorials.

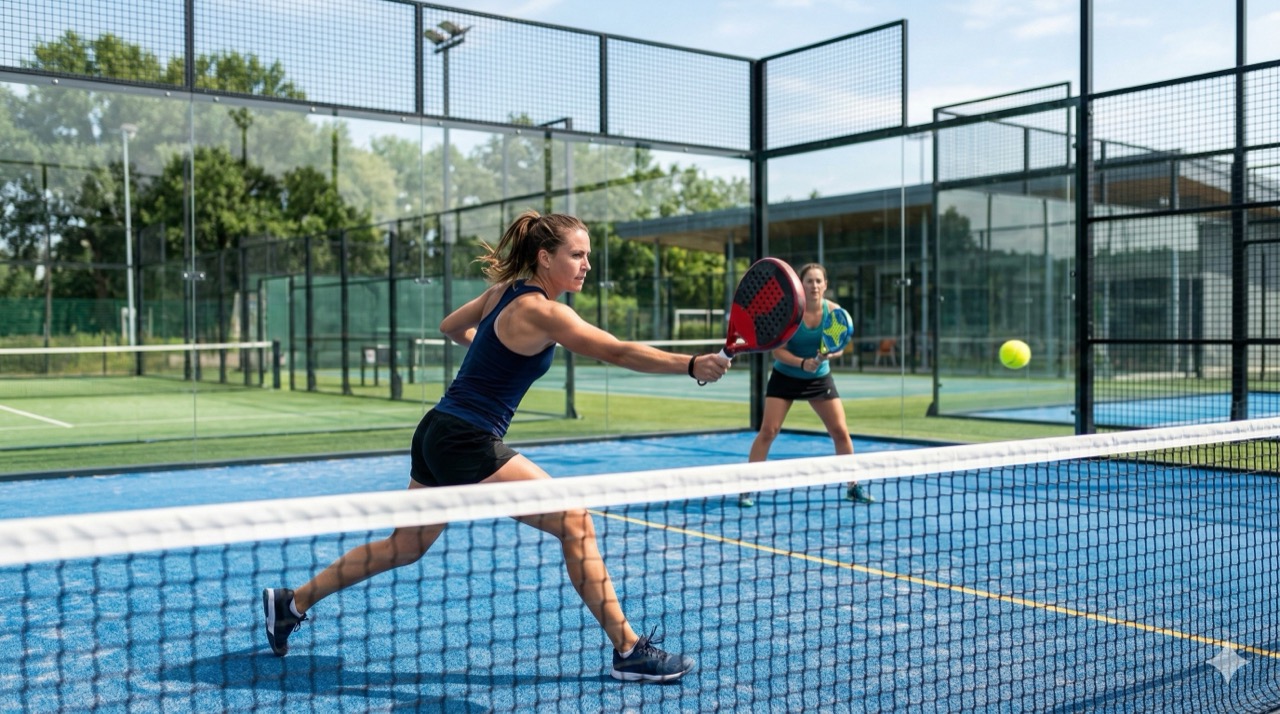
The padel volley: your bread and butter at the net
Here’s the thing about padel - you’re going to spend most of the match at the net. And at the net, the volley is everything. It won’t make highlight reels like a smash, but it’s the shot that quietly wins you the majority of your points. If your volley is weak, being at the net is basically just standing closer to where you lose the point.
What is the volley?
Any shot you hit before the ball bounces while you’re in the net zone. In padel there are several flavors:
- Forehand volley: the most natural one. For balls coming to your dominant side.
- Backhand volley: for balls to your non-dominant side. Most players neglect this and bleed points because of it.
- Block volley: minimal racket movement. You use the pace from your opponent’s shot and redirect it. Perfect against fast balls.
- Half volley: the ball bounces right at your feet and you pick it up immediately after the bounce. Awkward but necessary.
- Deep volley: you commit to the shot, looking for depth to push opponents back to the baseline.
The padel volley is more compact than a tennis volley. The walls are behind your opponent, so raw power doesn’t help much - placement and timing do.
When to use it
- Every time you’re at the net and the ball arrives before bouncing. That’s the job.
- After playing a chiquita: you come to the net and the volley is your next weapon.
- To close points with angles: a cross-court volley toward the fence is nearly impossible to return.
- To maintain pressure: deep volleys down the middle force opponents to keep defending.
- Paired with the bandeja: volley low, bandeja high. Those two shots are your net survival kit.
How to execute it step by step
1. Setup
- Ready position: racket at chest height, slightly in front of your body. Elbows away from your torso. Knees bent. Weight on the balls of your feet.
- Split step: that little hop right before your opponent hits. Gets you balanced and ready to move either direction.
- Read early: as soon as you see where the ball’s going, turn your shoulders. Don’t wait until the ball is on top of you.
2. The stroke
Forehand volley:
- Short shoulder turn to the right (if right-handed). The racket goes back just enough - imagine someone could see the back of your hand.
- Contact in front of your body, wrist locked. Racket face slightly open for a touch of slice.
- The motion goes high to low and forward. Keep it short. No big swings.
Backhand volley:
- Shoulder turn to the left. Your non-dominant hand supports the racket during preparation.
- Contact in front and slightly to the side. Wrist firm, face open.
- Lots of players actually have a more consistent backhand volley because the natural motion is already compact.
Block volley:
- Zero preparation. You literally place the racket in the ball’s path.
- Wrist locked, firm grip. Let the ball do the work.
- Your go-to against smashes and fast shots. Just redirect.
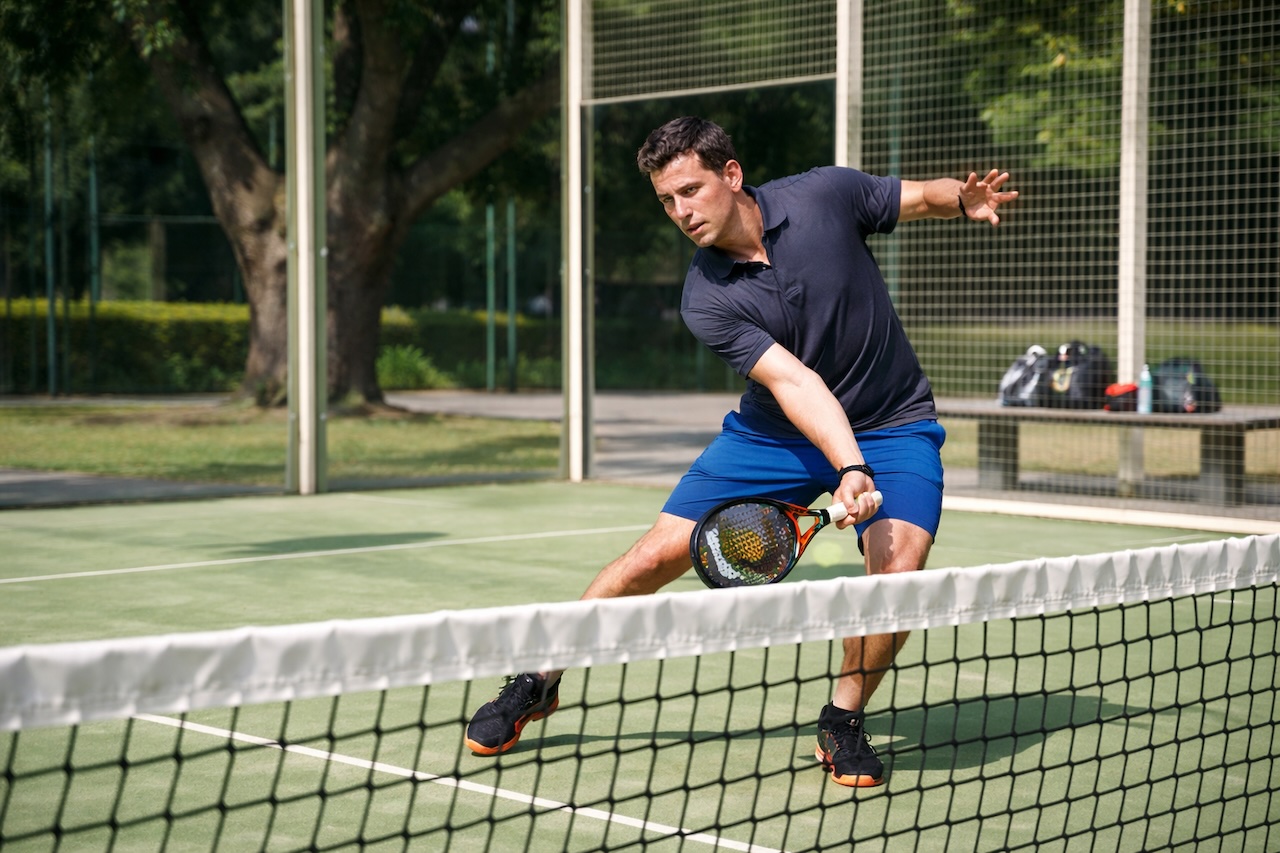
Half volley:
- Bend your knees. A lot. Get your center of gravity low.
- Racket almost parallel to the ground. Scoop the ball just after the bounce with a gentle upward motion.
- Don’t try anything fancy. The goal is getting the ball over the net with control.
Deep volley:
- Here you can afford a slightly longer preparation.
- Aim deep toward your opponents’ feet or down the middle between them.
- Transfer your weight forward through the shot.
3. After the shot
- Get back to ready position immediately. Don’t admire your volley.
- Move forward if you’ve hit a winner or your opponents are in trouble.
- Keep the racket up. The next ball could come in a fraction of a second.
- Communicate with your partner: if the volley went down the middle, someone needs to call it.
Common mistakes
| Mistake | Consequence | Fix |
|---|---|---|
| Swing too long | Late to the ball, lose control | Short motion. Think “push” not “hit” |
| Floppy wrist | Racket moves on impact, ball goes anywhere | Firm grip, locked wrist |
| Contact with arm against body | No power, no angle | Hit with arm extended, in front of your body |
| Skipping the split step | Always reacting late | Little hop before every opponent shot |
| Flat feet | Can’t reach balls to either side | Weight on toes, knees bent |
| Watching your shot instead of recovering | Miss the next ball | Back to ready position instantly |
Advantages
- ✅ The shot you’ll use most in any match. Master it and your whole game levels up.
- ✅ Lets you close points with angles impossible from the baseline.
- ✅ Deep volleys down the middle create confusion between opponents.
- ✅ The block volley saves you against fast shots with zero effort.
- ✅ Pairs with everything at the net: bandeja, chiquita, drop shot…
Risks
- ⚠️ A short volley to the middle is an invitation for a counterattack. Always look for angle or depth.
- ⚠️ If you get caught with the racket low, the half volley becomes a gift for your opponent.
- ⚠️ Volleying without a split step means you’re always one step behind.
- ⚠️ Overconfidence: going for impossible winners when the smart play is maintaining pressure.
Recommended videos
- Create BRUTAL Forehand Volleys (6 Tips) - EverythingPadel
- 6 Volley Tips to Be Effective at Net - The Padel School
- How to Forehand Volley Like a Pro - Dani Hoyo Padel Coach
- How Do the Pros Hit Compact and Powerful Volleys? - The Padel School
- 3 Pro Tips to Improve Your Padel Volley - the4Set
Pro tip
The volley isn’t about hitting hard. It’s about being in the right spot, racket up, and making the right decision in half a second. Practice the split step until it’s automatic - that’s what separates players who dominate the net from players who just survive there.
Want to track how your net game evolves match by match? Log your games on padellog.