By Mario Gonzalez Strategy
Padel Court Positioning: Master the Three Zones for Better Play
Learn the three essential padel court zones and when to use each. Smart positioning wins more points than powerful shots.

Most padel points aren’t won by spectacular shots. They’re won by being in the right place at the right time. Understanding padel court positioning separates players who control rallies from those who spend every point scrambling.
The court divides into three distinct zones, each with its own purpose and tactical implications. Players who recognize these zones and move between them with intention find themselves winning more points with less effort.
The Three Zones of the Padel Court
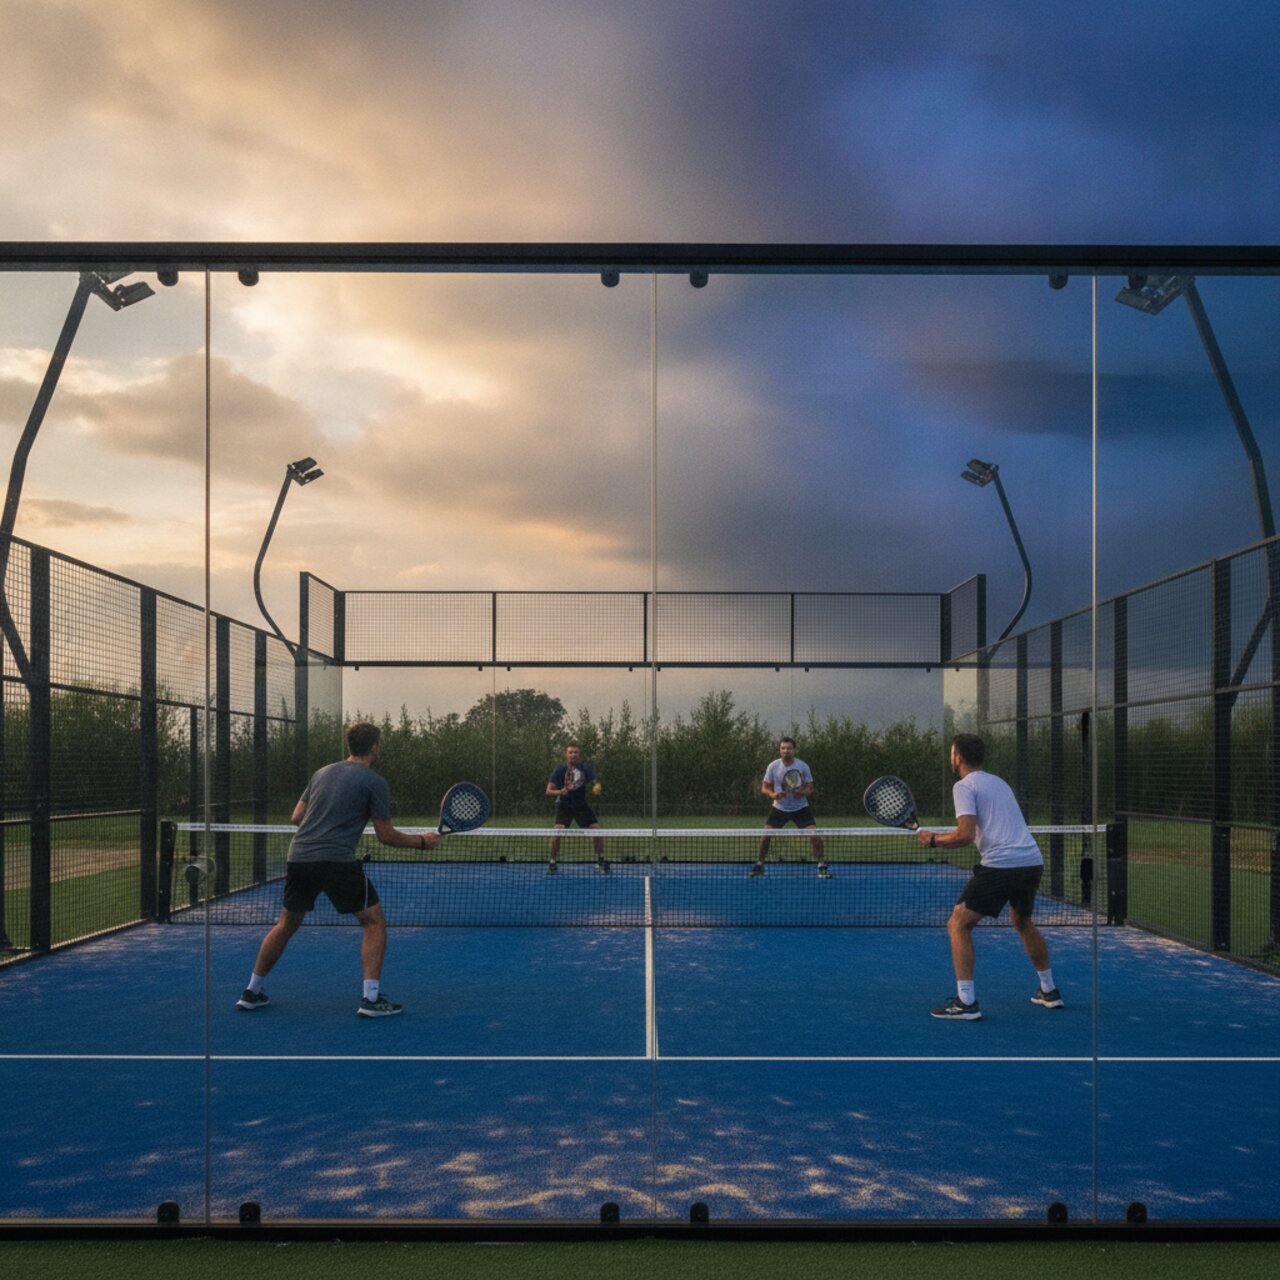
Every padel court contains the same three tactical areas: the net zone, the baseline zone, and the transition zone. Each demands different skills and serves a different purpose in your game.
Professional players spend 60-70% of points at the net because that’s where you finish points. But getting there safely, and knowing when to retreat, makes the difference between attacking effectively and getting lobbed repeatedly.
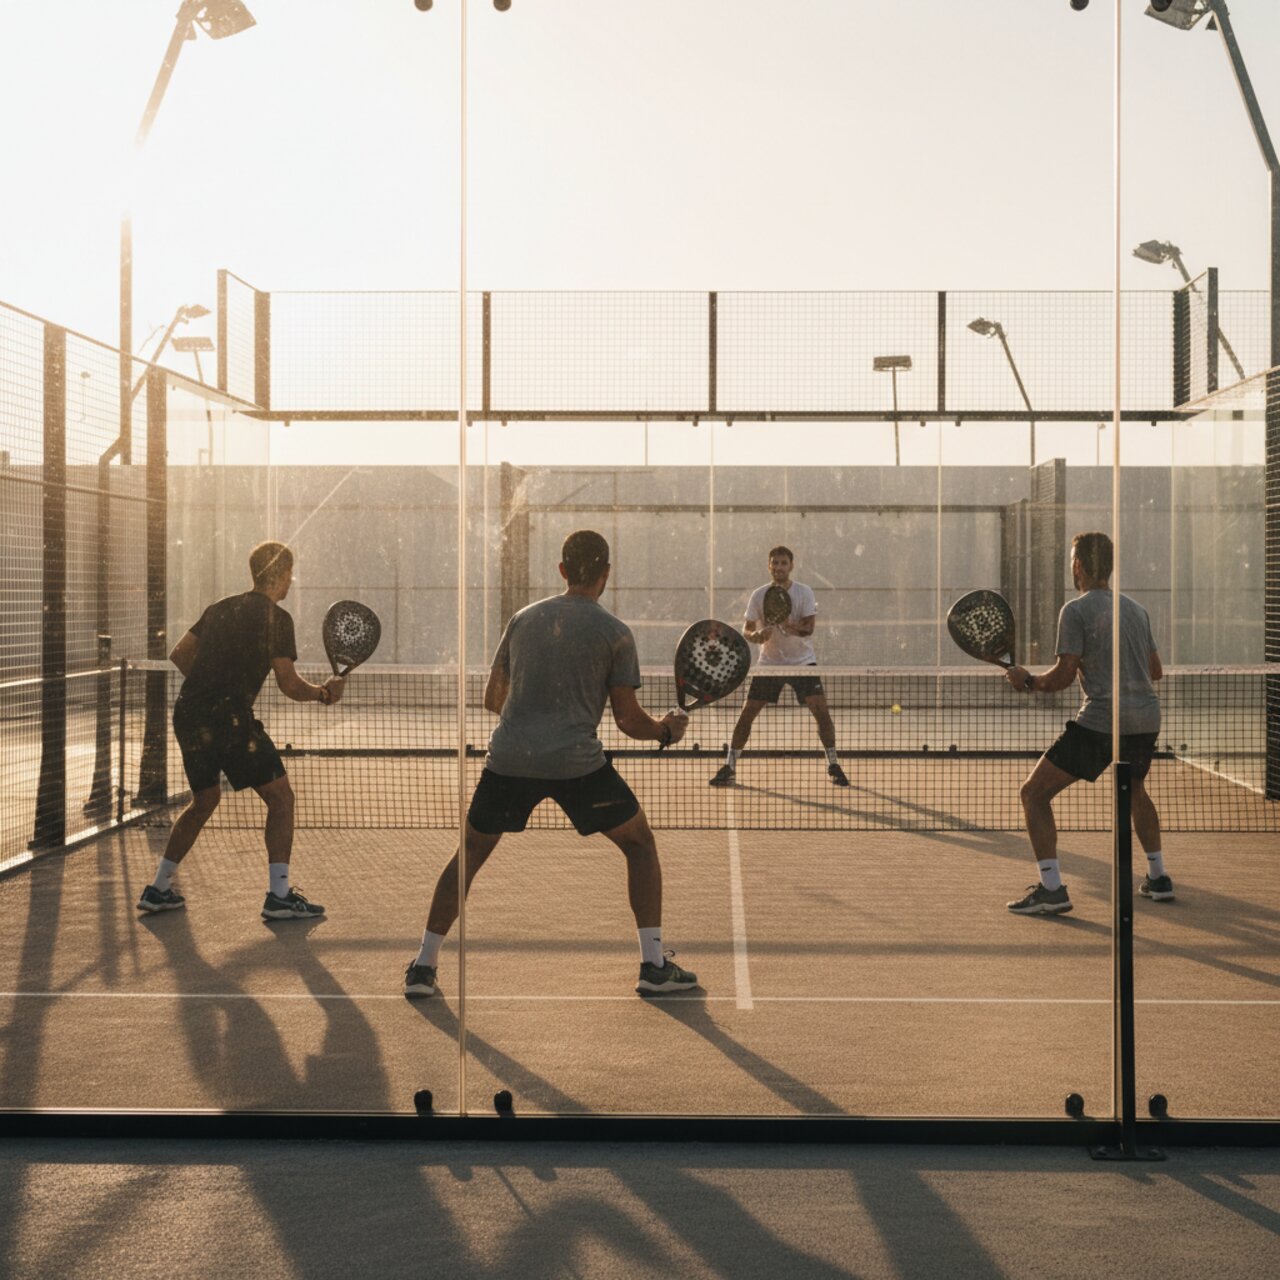
Zone 1: The Net Position
The net zone extends from the net to approximately 3 meters back. This is your attacking territory, where you close out points and put pressure on opponents.
Where to Stand
Position yourself about one arm’s length from the net, roughly in line with the service box. Your paddle should be up at chest height, knees slightly bent, weight on the balls of your feet.
Stay about 4-5 meters from your partner. Too close and you leave gaps on the sides. Too far apart and you create a hole down the middle that opponents will exploit.
When You Control This Zone
At the net, you dictate the point. You can hit volleys with sharp angles, put away weak returns, and force opponents into difficult defensive positions. The glass walls become your ally because you’re close enough to cut off their returns before the ball reaches the back wall.
Your reaction time shrinks at the net, so anticipation matters more than pure speed. Watch your opponent’s body position, paddle angle, and weight transfer. These cues tell you where the ball is going before they hit it.
Common Net Zone Mistakes
Many players stand too far from the net, giving opponents time to pass them. Others position their paddle too low, costing precious reaction time on fast volleys.
The biggest mistake is staying at the net when you shouldn’t. A deep lob that gets past you requires immediate acknowledgment. Turning and chasing is better than watching the ball sail overhead while you stand frozen.
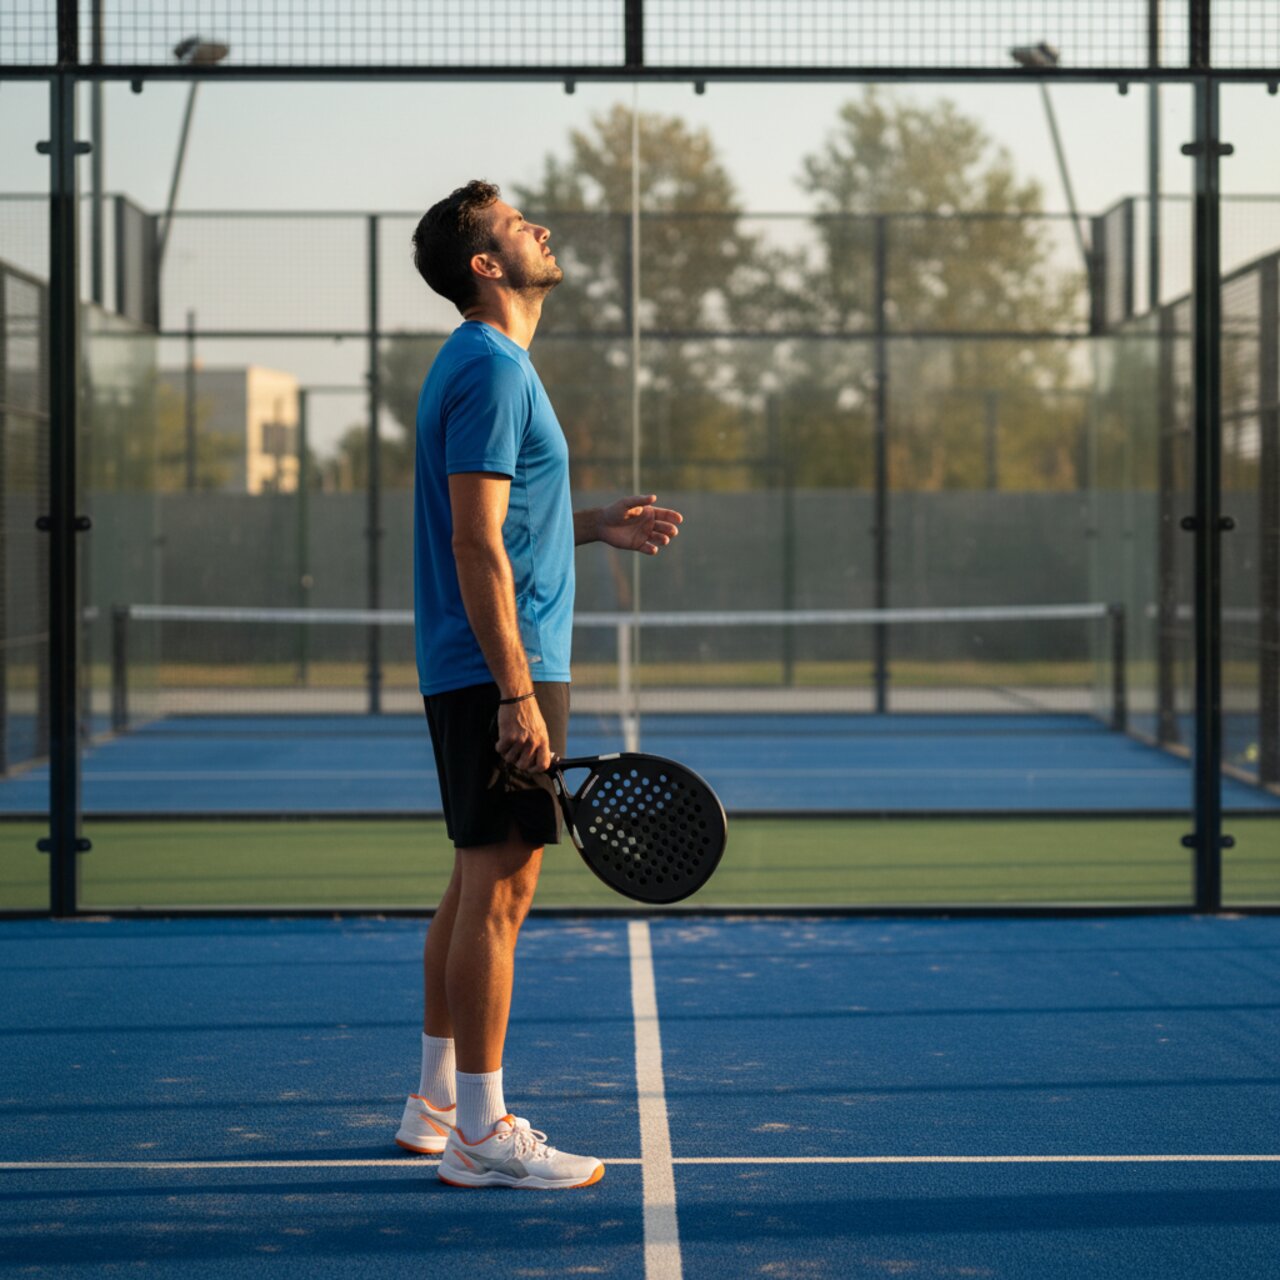
Zone 2: The Baseline
The baseline zone covers the back 3-4 meters of your court, the area near the back glass. This is defensive territory where you absorb pressure and wait for opportunities to move forward.
Defensive Positioning
Stand about two steps from the back glass, giving yourself room to retreat for lobs while staying close enough to move forward quickly. Keep your paddle in a neutral ready position, prepared to move in any direction.
Your job from the baseline isn’t to win points directly. Instead, you’re looking to stay in the rally, hit quality lobs, and wait for your opponents to give you a short ball that lets you attack.
Reading the Ball Off the Glass
The back wall transforms from obstacle to opportunity when you learn to read it. Most beginners panic when the ball heads toward the glass, rushing their shots or positioning poorly.
Let the ball come to you. Move early, set your feet, and wait for the ball to drop to a comfortable contact point. Rushing creates errors. Patience from the baseline keeps you in rallies.
For detailed technique on playing balls off the wall, check out our guide on wall shots in padel.
When to Stay Back
Stay at the baseline when your opponents control the net and are hitting solid volleys. Attempting to rush forward against a well-positioned net team usually ends with a volley at your feet or a passing shot you can’t reach.
Wait for a weak volley, a ball that sits up, or a shot that pushes your opponents back. These moments create your opportunity to advance.
Zone 3: The Transition Area
The transition zone, the middle third of the court, is where most amateur points are lost. It’s called the “no man’s land” for good reason.
Why This Zone Is Dangerous
In the transition zone, you’re too far from the net to volley effectively and too far from the baseline to use the glass. Balls arrive at awkward heights, between your knees and waist, making clean contact difficult.
Opponents with good volleying skills target the transition zone intentionally. A ball landing at your feet while you’re moving forward is one of the hardest shots in padel to return effectively.
Moving Through, Not Stopping In
The key to the transition zone is treating it as a corridor, not a destination. When you move forward to attack, commit fully. Split-step briefly to react, then continue to the net.
Similarly, when retreating from a lob, don’t stop halfway. Move all the way back to the baseline where you can set up properly for the next shot.
Players who hesitate in the transition zone become easy targets. Make a decision, commit to it, and execute.
The Split-Step
Your split-step happens in the transition zone, but you shouldn’t stay there. As your opponent contacts the ball, perform a small hop, landing with feet shoulder-width apart. This brief pause loads your legs for explosive movement in either direction.
The split-step turns the transition zone from liability to launch pad. You’re in motion, balanced, and ready to react. Then you move to your target zone, either forward to the net or back to the baseline.
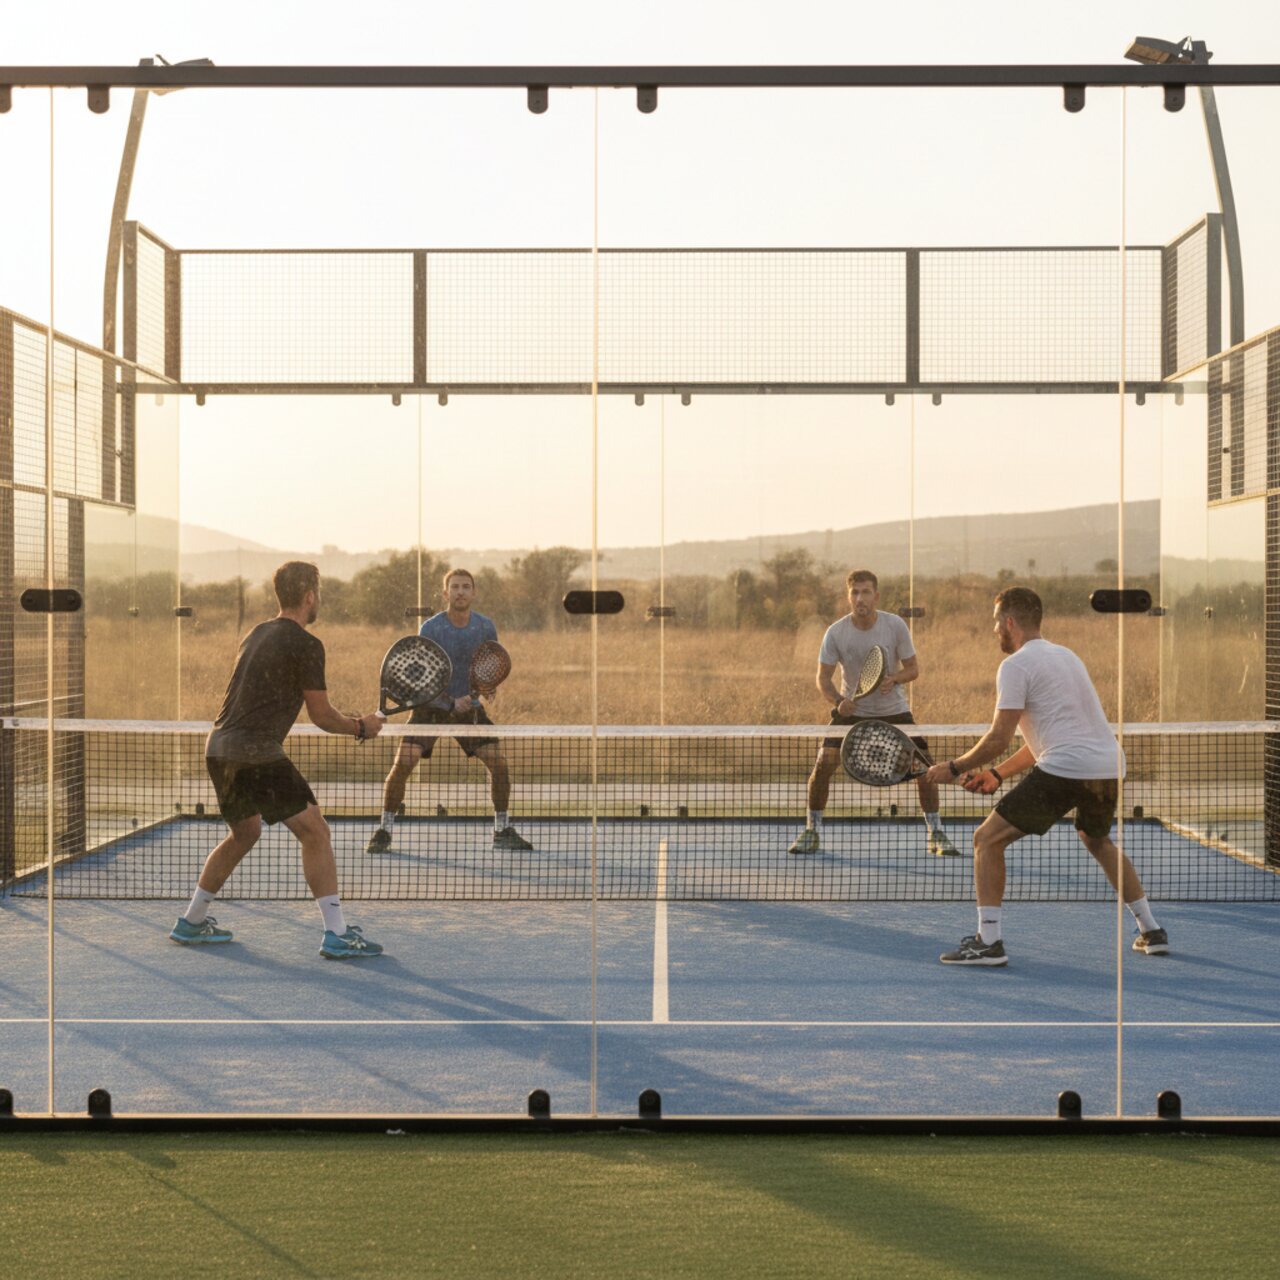
How Both Partners Move Together
Padel positioning isn’t individual. You and your partner move as a unit, maintaining spacing and supporting each other’s coverage.
Parallel Movement
When your partner moves forward, you move forward. When they retreat, you retreat. Imagine an invisible rope connecting you both, about 4-5 meters long. Neither player should be significantly ahead or behind the other.
This parallel movement prevents opponents from hitting into gaps. If one player charges the net while the other stays back, the opposing team has an obvious target: the space between you.
Switching and Rotation
Sometimes positioning requires switching sides. If a lob pulls your partner to your side of the court, rotate behind them and cover their original position. This fluid switching keeps the court covered without leaving gaps.
Communication makes switching smooth. A quick “switch” or “cambio” tells your partner you’re moving. More importantly, watch each other. Knowing where your partner is prevents collisions and confusion.
For more on partner coordination, see our complete guide on doubles positioning in padel.
Recognizing When to Change Zones
Reading the game determines when you move between zones. Certain triggers tell you it’s time to advance or retreat.
Signals to Move Forward
Move toward the net when:
- Your opponents hit a defensive lob that lands short
- You’ve hit a deep ball that pushes them back
- Their volleys are floating or lack pace
- They’re scrambling and out of position
Don’t wait for the perfect opportunity. Sometimes you advance on a “good enough” ball because staying back concedes the advantage.
Signals to Retreat
Move back to the baseline when:
- A lob gets over your head
- Your volleying position feels compromised
- You’ve been caught in no man’s land
- Your opponents have hit a winner and you need to reset
Retreating isn’t defeat. It’s tactical repositioning. Staying at the net when you’ve lost the position leads to easy points for your opponents.
Practice Drills for Better Positioning
Understanding zones intellectually is step one. Training your instincts takes practice.
Zone Recognition Drill
Play points where you verbally call out your zone: “net,” “baseline,” or “transition.” This conscious awareness builds recognition patterns. After several games, you’ll automatically know where you are without thinking.
Forced Movement Drill
Have a practice partner alternate between lobs and drop shots. Your job is to move smoothly between zones, arriving balanced and ready for each shot. Start slowly, then increase pace as your movement improves.
Shadow Court Movement
Without a ball, practice moving through all three zones. Start at the baseline, move through the transition with a split-step, arrive at the net in a ready position. Then retreat, practicing the footwork for each zone change.
Building Position Into Your Game
Smart positioning becomes automatic with experience, but you can accelerate the learning process by focusing consciously during practice matches.
Before each point, check your starting position. After each rally, briefly assess where you were positioned during key moments. Did you get caught in no man’s land? Were you far enough forward at the net?
Track your positioning over several matches using Padellog to record your games and identify patterns. You might discover you’re consistently caught in transition or positioned too far from your partner.
The players who dominate club level padel rarely have the biggest shots. They have the best instincts for where to be. That knowledge comes from understanding the three zones and moving between them with purpose.
Master these positions, and you’ll win more points with less physical effort, which is exactly how the best padel players operate.